
Spent some time putting the Flyin miata suspension together today. I had ordered all new components (shocks, springs, bump stops and top mounts) so I could assemble the suspension without pulling the old shocks off the car first. Plus, the suspension being less complex - well, fewer parts - than the NB one I had on my last NA made things so easy that I forgot to take pictures.
Rear struts went together even without a spring compressor. Leaning a little bit on the top mount was enough to compress the spring so that I could thread the shaft nut on. Well, they did once I realised that I had managed to box up the front springs with the rear shocks and vice versa when I checked over the contents of the boxes. Oops. Note to self, there might be a reason that the springs have words like “front” and “rear” printed on them.
For the front ones I pulled out my proper professional spring compressors. They’re clearly not designed for Miatas, though:

Yeah, that’s not going to work. Fortunately the front springs didn’t need a lot of compressing either, so I channeled the spirit of Dorifto Salaryman and, well, used zip ties. Don’t do this at home, kids. But it worked.
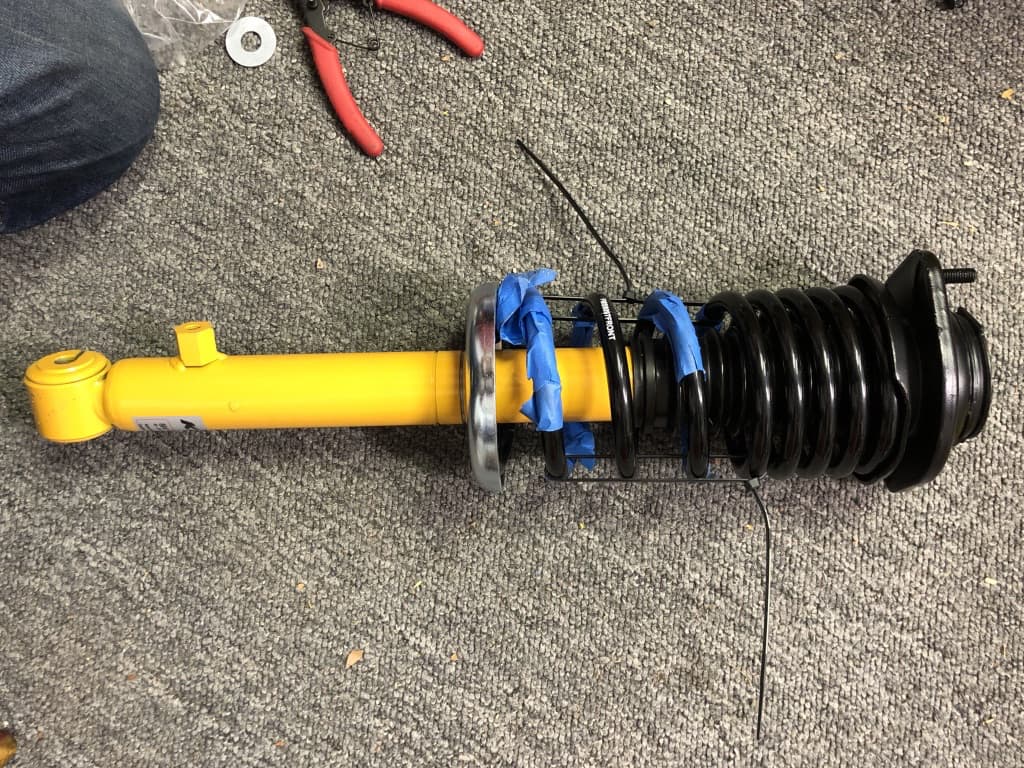
This of course left me with the problem of trying to do up the shaft nut to somewhere near the required 10 ft/lbs, but that something I’m collecting opinions on first. For those not familiar with yellow Konis for NA Miata, they don’t have the flats or other means of holding the shaft while tightening the top nut. So you either have to hold the shaft while not crushing it or damaging the surface, or you basically rattle gun the nut on and hope for the best.
Put the suspension aside at this point. I have to maneuver the car into the other garage we have so I can jack it up and swap out the struts, but it’s way too hot for that today.
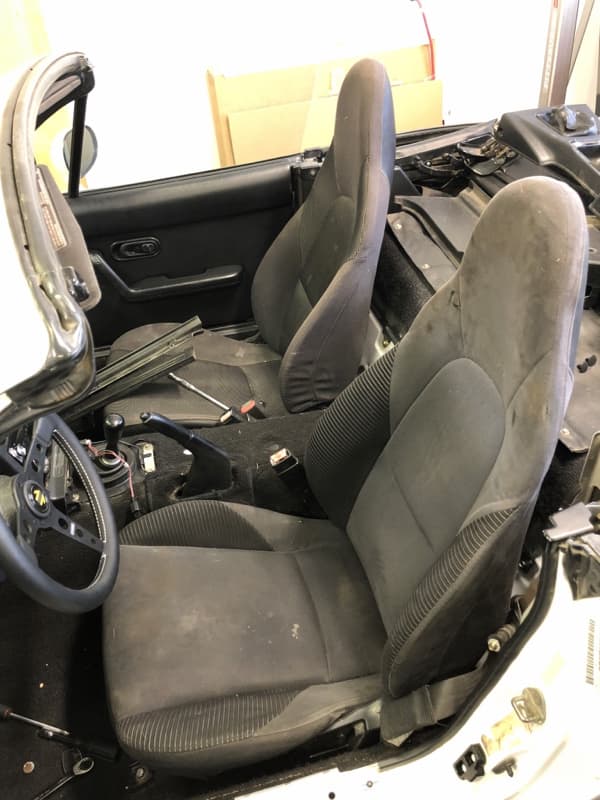
Instead I figured I’ll have a poke around the eBay seats (no, I still haven’t heard from the seller) to see if I had enough parts to at least put together one of seats. Turns out I did - well, most of the parts at least, the cover for the adjuster handle didn’t make it. At least I have the bolts to put both halves of the seat together. So I did, again not with pictures but I now have two seats that at least match in shape in the car, and the driver’s seat is even bolted down after I swapped the NB rails for the correct NA rails in the car.

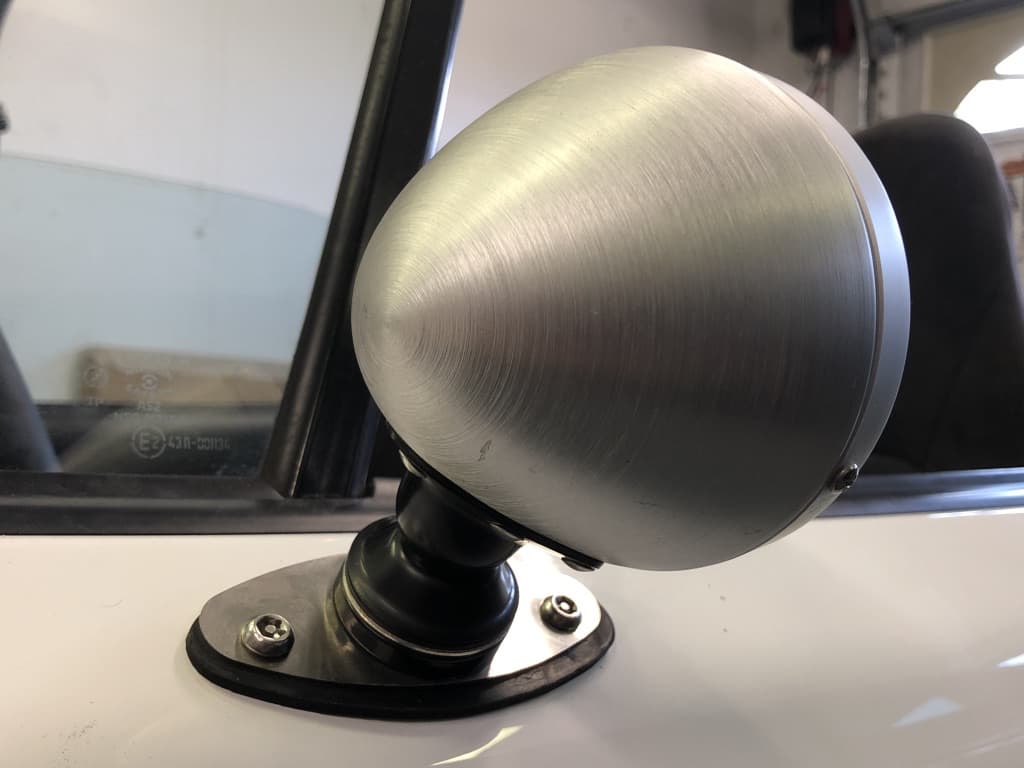
I also finally bit the bullet and drilled a big enough hole in the door so I could mount the Raydot mirror on the driver’s side. It’s certainly grown on me and I’ve decided I do like it (which may or may not have anything to do with the originally planned Craftsquare mirrors being about five times what I paid for the pair of Raydots). I’m not super happy with the way the rubber gasket fits so I will end up redoing it, but overall, I think it looks good:
Plan for tomorrow is to start recovering the dashboard. The black Ultrasuede (aka Alcantara with a Japanese accent) arrived on Friday and I think it’ll look good on the dash. Plus I do have enough material to wrap the three panels that make up the windshield surround. Not sure if I also have enough to cover the gauge hood. I’ll probably do the dash first, and see how I like before I start wrapping everything in sight.